Transform your solar installation project from concept to reality with a comprehensive installation diagram that serves as your roadmap to renewable energy success. British Columbia homeowners are increasingly turning to solar power, making it crucial to understand the technical drawings that guide proper panel placement, wiring configuration, and mounting specifications.
A well-designed solar panel installation diagram does more than just show where components go – it ensures your system meets BC’s electrical codes, optimizes energy production for our unique climate, and facilitates smooth permit approvals. Whether you’re a DIY enthusiast or working with certified installers, these technical blueprints detail everything from roof load calculations to inverter connections, helping you visualize your solar journey before the first panel is mounted.
By mastering the fundamentals of installation diagrams, you’ll make informed decisions about your solar investment while avoiding costly mistakes. Let’s explore the essential components and best practices that make these technical drawings an indispensable tool for your clean energy transition.
Key Components of a Solar Installation Diagram
Panel Layout and Mounting Points
In BC’s varied climate, proper panel layout and mounting are crucial for maximizing solar energy production. Most residential installations require panels to be spaced 4-6 inches apart to allow for thermal expansion and proper airflow, which helps maintain optimal performance during our warm summer months.
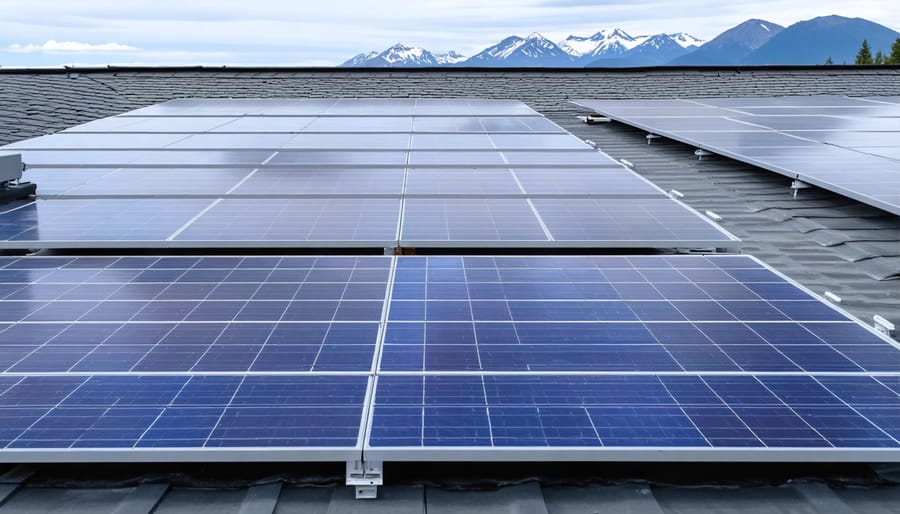
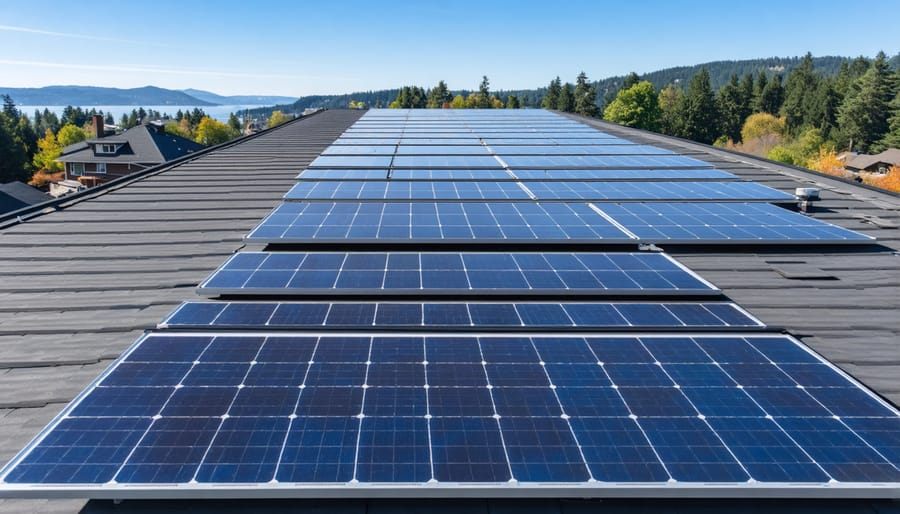
For typical pitched roofs in BC, solar panels should be mounted parallel to the roof surface, maintaining a low profile while following the roof’s natural angle. The mounting points should align with roof rafters or trusses, typically requiring one mount every 4 feet along the rail system. This spacing ensures your installation can withstand our region’s occasional heavy snow loads and strong coastal winds.
When planning your layout, consider factors unique to our region: nearby trees that could cast shadows, our northern latitude’s impact on sun angles, and local building codes. Most BC municipalities require a minimum 3-foot setback from roof edges and ridges for fire safety access, while maintaining clear paths between panel groups for maintenance.
For flat roofs, common in commercial installations, panels are typically mounted at a 10-15 degree angle facing south, with row spacing calculated to prevent inter-row shading during winter months when the sun is lower in the sky.
Electrical Connections and Wiring Routes
The electrical wiring diagram shows how your solar panels connect to your home’s power system. Your inverter, which converts DC power from the panels to usable AC power, should be placed in a cool, dry location – typically in your garage or utility room. In BC’s climate, indoor placement helps protect the inverter from our wet weather conditions.
From your roof-mounted panels, DC cables run through protective conduit along designated routes to reach the inverter. These routes should avoid direct sunlight exposure and take the shortest practical path while meeting local building codes. Most BC installations use the home’s exterior walls or attic space for running conduits.
The inverter then connects to your main electrical panel through an AC disconnect switch, which is required by BC Hydro for grid-tied systems. A production meter tracks the energy your system generates, while your existing utility meter becomes bi-directional to measure power flowing both to and from the grid.
Always work with a certified electrician familiar with BC’s electrical code requirements to ensure proper wire sizing, grounding, and safety disconnect placement. They’ll provide detailed electrical diagrams showing exact connection points and wire routes specific to your installation.
BC-Specific Installation Considerations
Snow Load and Wind Requirements
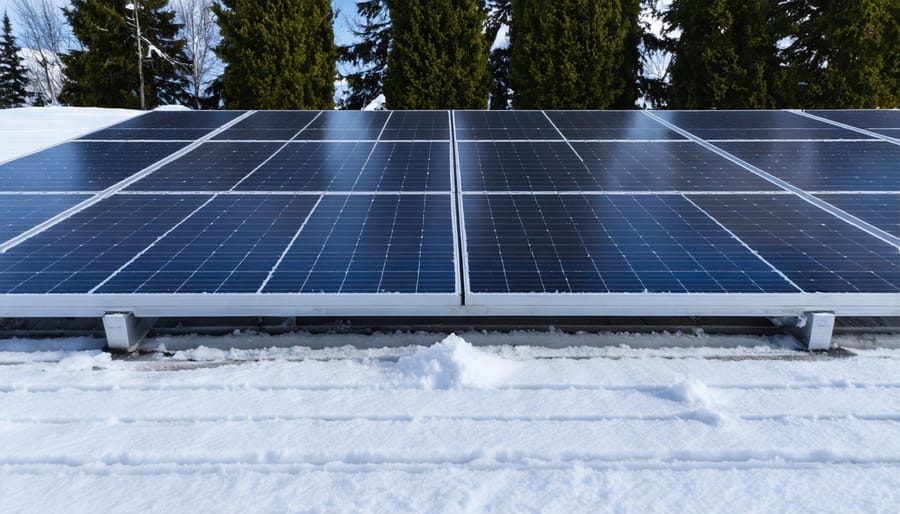
In British Columbia’s diverse climate, proper consideration of snow loads and wind forces is crucial for safe solar panel installation. The BC Building Code requires all rooftop installations to withstand specific environmental pressures, which vary by region. For coastal areas, installations must endure wind speeds up to 100 km/h, while interior regions need to account for both high winds and substantial snow accumulation.
Your installation diagram should clearly indicate mounting points designed to handle these forces. Generally, panels should be installed at a minimum angle of 30 degrees in snowy regions to facilitate snow management for solar panels. In areas like the Kootenays or Northern BC, where annual snowfall can exceed 200cm, additional structural support may be required.
Wind uplift is particularly important in exposed locations and coastal areas. Your mounting system should include appropriate rail spacing and mounting points based on your specific location’s wind zone classification. Local installers typically recommend using micro-inverters or power optimizers in high-snow regions, as these systems help maintain overall performance when individual panels are partially covered.
Always consult your local building department for specific requirements, as they may vary by municipality. Many BC communities have updated their solar installation guidelines to address our unique weather conditions while supporting renewable energy adoption.
Optimal Panel Angles for BC Latitude
In British Columbia, achieving optimal panel positioning is crucial for maximizing solar energy production throughout the year. For most locations in BC, ranging from Vancouver Island to the Interior, the ideal tilt angle typically falls between 30 and 45 degrees from horizontal, depending on your specific latitude.
Vancouver and Victoria residents should aim for approximately 32-35 degrees tilt, while those in Prince George may benefit from slightly steeper angles around 40-42 degrees. This variation accounts for the sun’s lower position in northern latitudes during winter months.
During installation planning, consider that most residential roofs in BC have pitches between 22 and 45 degrees, often aligning naturally with ideal solar angles. If your roof pitch doesn’t match these optimal angles, mounting brackets can adjust the panels to achieve better positioning.
For year-round performance, a good rule of thumb is to set your panel angle equal to your latitude minus 10 degrees. For example, Vancouver (latitude 49°N) would ideally have panels set at about 39 degrees. Some BC homeowners opt for adjustable mounting systems, allowing for seasonal modifications – steeper angles in winter (latitude plus 15 degrees) and flatter angles in summer (latitude minus 15 degrees) – though fixed installations are more common due to their simplicity and reliability.
Reading and Understanding Your Installation Diagram
Common Symbols and Notations
When reading a solar panel installation diagram in BC, you’ll encounter several standard symbols that help communicate important system components. The solar panel itself is typically shown as a rectangle with diagonal lines, often accompanied by a “+” and “-” to indicate polarity. Inverters are represented by a square with a wave-like symbol inside, showing where DC power converts to AC.
Wiring connections are shown as solid lines, with dashed lines indicating alternative pathways. Circuit breakers appear as a zigzag line breaking a straight line, while grounding points use three parallel lines of decreasing length. Battery storage systems are drawn as two parallel lines of different lengths.
For BC installations, you’ll often see snow load indicators (snowflake symbol) and roof pitch markers (angle symbol) due to our unique climate considerations. Mounting hardware is shown using simple dot-and-line combinations, while junction boxes appear as squares with an “X” inside.
Understanding these symbols helps you better communicate with installers and ensures your solar project meets local requirements and safety standards.
Installation Sequence
The installation sequence diagram serves as your visual roadmap for a successful solar panel setup. Start by identifying the roof mounting points, which are clearly marked with bold anchor symbols. These indicate where your racking system will be secured to withstand BC’s varied weather conditions. Follow the numbered arrows that show the flow of installation, beginning with the mounting hardware and moving to panel placement.
Pay special attention to the wiring diagram section, which illustrates how panels connect in series or parallel. In BC’s climate, proper wire management is crucial to prevent moisture damage. The diagram typically highlights connection points with distinct symbols – squares for junction boxes and circles for quick-connect terminals.
Look for the inverter placement markers, usually shown near your home’s electrical panel. This location is critical for optimal system performance, especially during our shorter winter days. The diagram should also indicate safety disconnect locations, which are required by BC electrical code.
For maximum efficiency, use the sun angle indicators to ensure proper panel tilt. These measurements are specifically calculated for BC latitudes, helping you achieve the best possible solar exposure throughout the year.

Working with BC Solar Installers
When it comes to implementing your solar installation plans, working with professional installers in British Columbia can make a significant difference in the success of your project. Start by sharing your installation diagram with potential installers during initial consultations – this demonstrates your understanding of the project and helps establish clear communication from the start.
Look for certified installers who are familiar with BC’s specific building codes and climate considerations. They can review your diagram and provide valuable feedback on system placement, structural requirements, and potential modifications needed to optimize performance in our unique weather conditions.
Keep your installation diagram handy during project meetings and use it as a reference point for discussions. Many successful BC solar installations began with homeowners who took the initiative to understand their system layout but remained open to expert recommendations for improvement.
Document any changes your installer suggests to the original diagram and ask for explanations of modifications. This helps you understand the reasoning behind technical decisions while ensuring the final installation meets both your expectations and local regulations.
Remember that installation diagrams are living documents – they may evolve as your project progresses. The best results come from collaborative relationships where both homeowner and installer contribute their knowledge to create an optimal solar solution for your property.
Understanding and following proper solar panel installation diagrams is crucial for ensuring a safe, efficient, and long-lasting solar energy system for your BC home. These technical drawings serve as your roadmap to successful installation, helping you navigate local building codes, optimize panel placement, and maximize energy production in our unique climate.
For BC homeowners ready to take the next step, we recommend starting with a professional solar assessment of your property. This will help determine the best installation approach based on your roof configuration and local weather patterns. Connect with certified solar installers in your area who understand BC’s specific requirements and can provide detailed installation diagrams tailored to your home.
Remember that while installation diagrams are essential planning tools, professional installation ensures your system meets all safety standards and warranty requirements. Many BC municipalities offer incentives and rebates for solar installations, making now an excellent time to invest in solar energy. By carefully following installation guidelines and working with qualified professionals, you’ll be well on your way to joining BC’s growing community of solar-powered homes, contributing to our province’s sustainable energy future.